Creating a Text View Border
January 17, 2015I am currently learning Swift and iOS development and it is quite an interesting ride. There is so much out there that I pretty much feel like I have been thrown into the ocean. Anyways, I was learning Core Data and was trying to figure out how to have a text field be multiple lines for a "Notes" section on a To Do list application that I am using to learn. You need to use a Text View to have multiple lines. Unfortunately XCode doesn't include an easy way to change the border style!
Creating the Border
Since XCode doesn't allow an easy selection to change the border of the text view, we have to program it! So I will present the snippet to set the border like that of default text fields and will explain afterward:
@IBOutlet weak var taskNotes: UITextView!

override func viewDidLoad() {
  super.viewDidLoad()
  var borderColor : UIColor = UIColor(red: 0.85, green: 0.85, blue: 0.85, alpha: 1.0)
  taskNotes.layer.borderWidth = 0.5
  taskNotes.layer.borderColor = borderColor.CGColor
  taskNotes.layer.cornerRadius = 5.0
}
I have a taskNotes text view in my storyboard which I've linked in the view controller. From here, in the
viewDidLoad function, I set up the color and applied it to the text view.
- First you need to create a
UIColorwith the settings you want. In this case I set it as close as I could to match the default gray that text fields have. - Next, I specified the text view's border width. If you do not specify it, then it will not show up! I think that 0.5 is close to the default.
- Afterward, you set the border color as the
UIColorthat you created. - Finally, text field's have a border radius which we can change as well for the text view with
cornerRadiusset to 5.0.
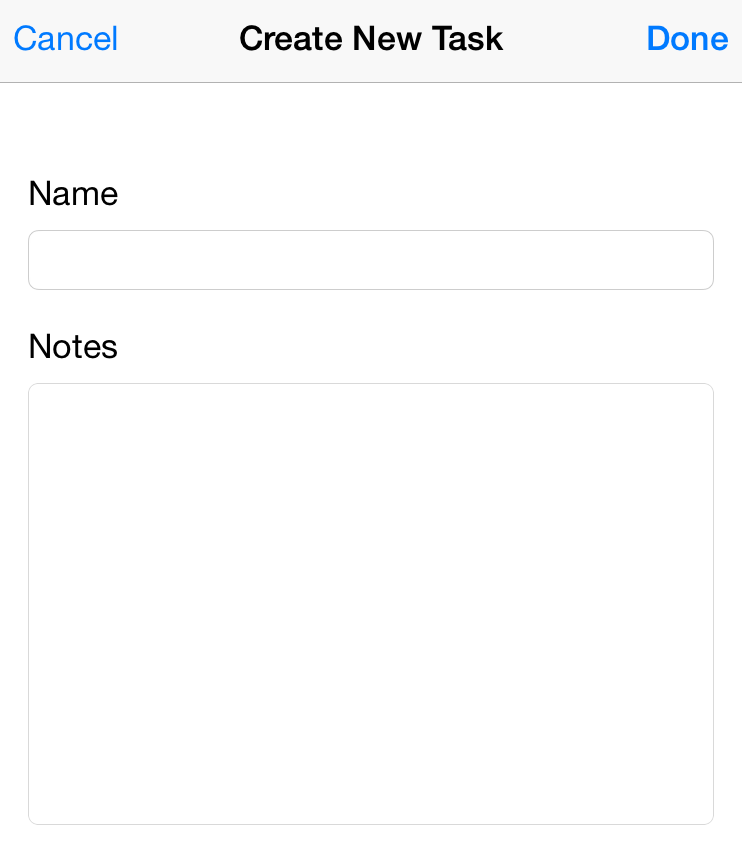
That's all! Now you'll have a text view that looks like the default text fields but can have multiple lines of editable text! Here's a screenshot for reference on how it looks:

comments powered by Disqus
